SwiftUI DatePicker 元件的使用
xcode 13.4.1, swift 5.5, iOS 15.4
2022-09-05
SwiftUI提供了一個很易用的日期選擇器,應該是所有App最常用的元件之一,這次講講DatePicker的使用。

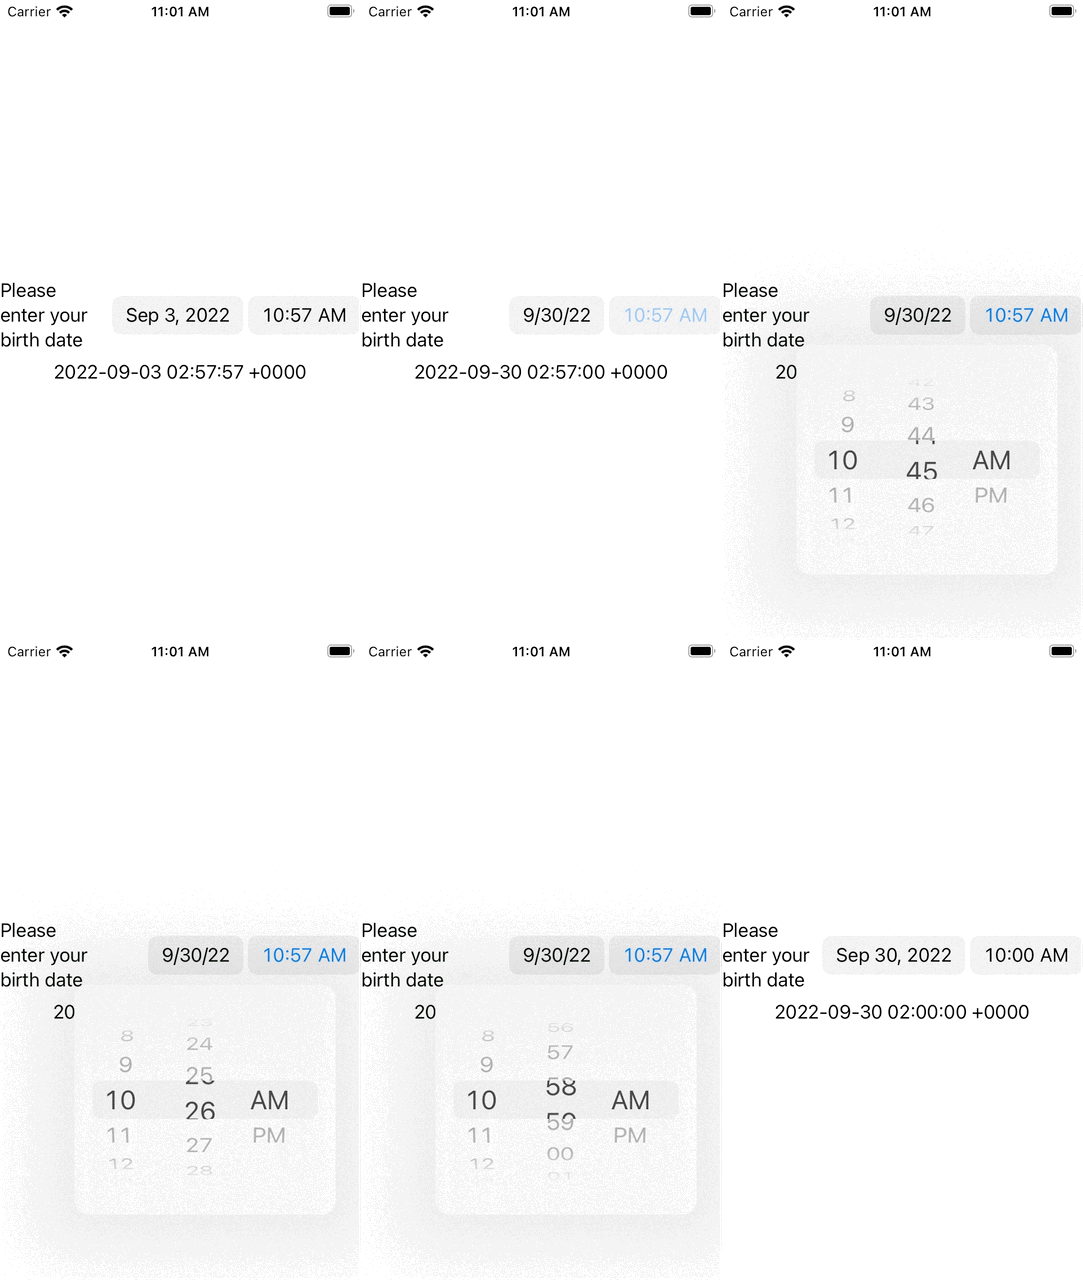
1. DatePicker創建時,第一個參數傳入一個Label,第二個是一個Date變量的Binding,以便把DatePicker所選擇的時間保存到該變量中,然後使用將所選日子顯示在下面的Text中。
import SwiftUI

struct DatePickerExample: View {
    @State private var birthDate = Date.now

    var body: some View {
        VStack {
            DatePicker("Please enter your birth date", selection: $birthDate)
            Text(birthDate.description)
        }
    }
}

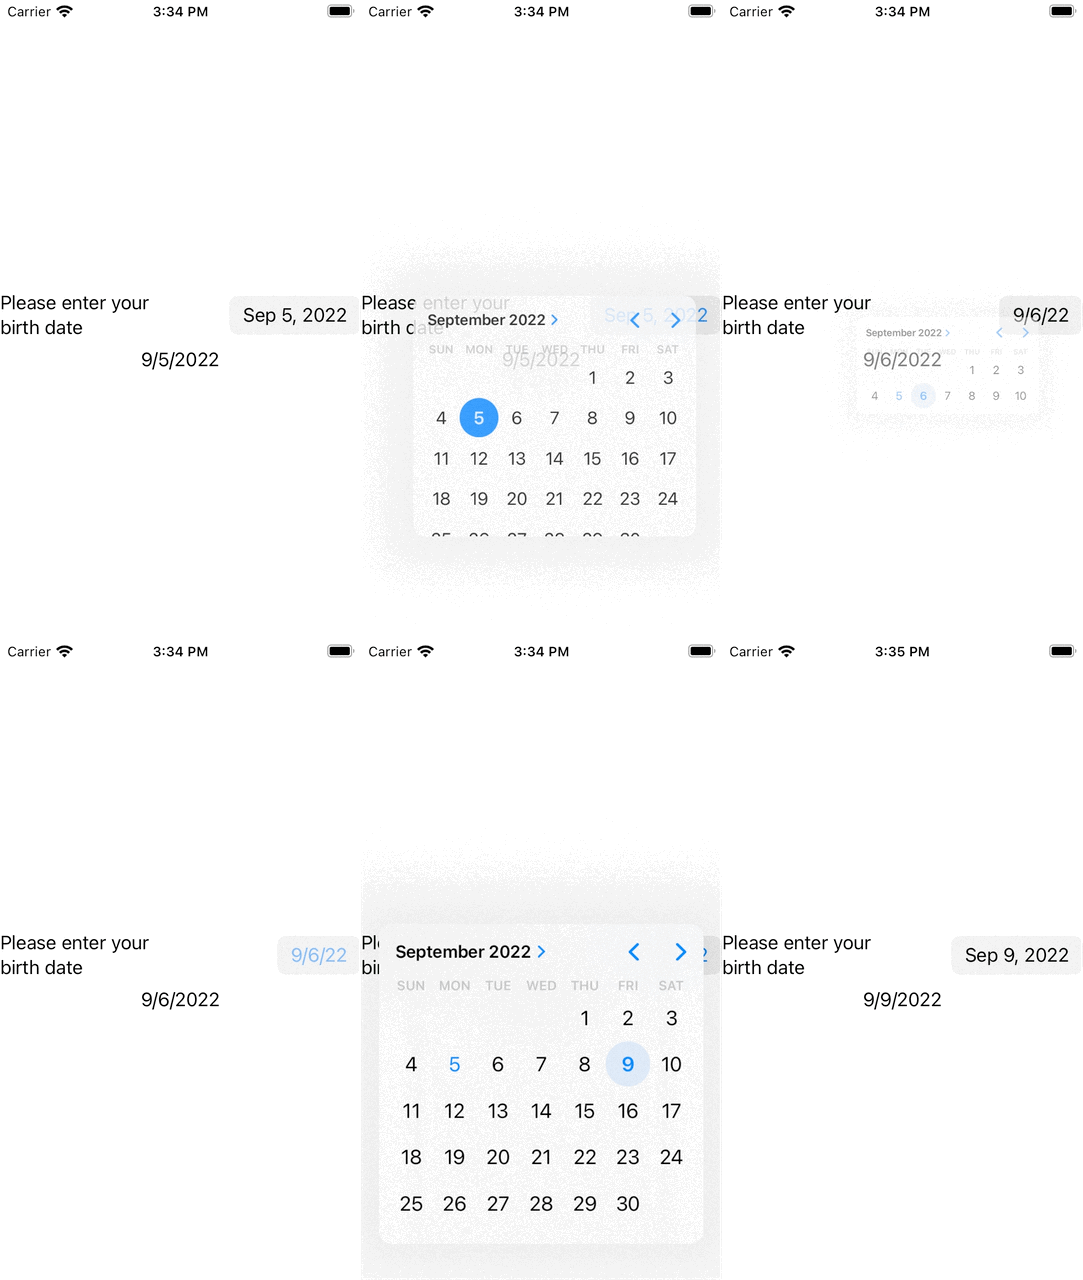
2. 以上例子是同時選擇日期和時間,有時候只想選擇日期,可以用displayedComponents參數來限定:
import SwiftUI

struct DatePickerExample: View {
    @State private var birthDate = Date.now

    var body: some View {
        VStack {
            DatePicker("Please enter your birth date",
                       selection: $birthDate,
                       displayedComponents: .date)
            Text(birthDate.formatted(date: .numeric, time: .omitted))
        }
    }
}

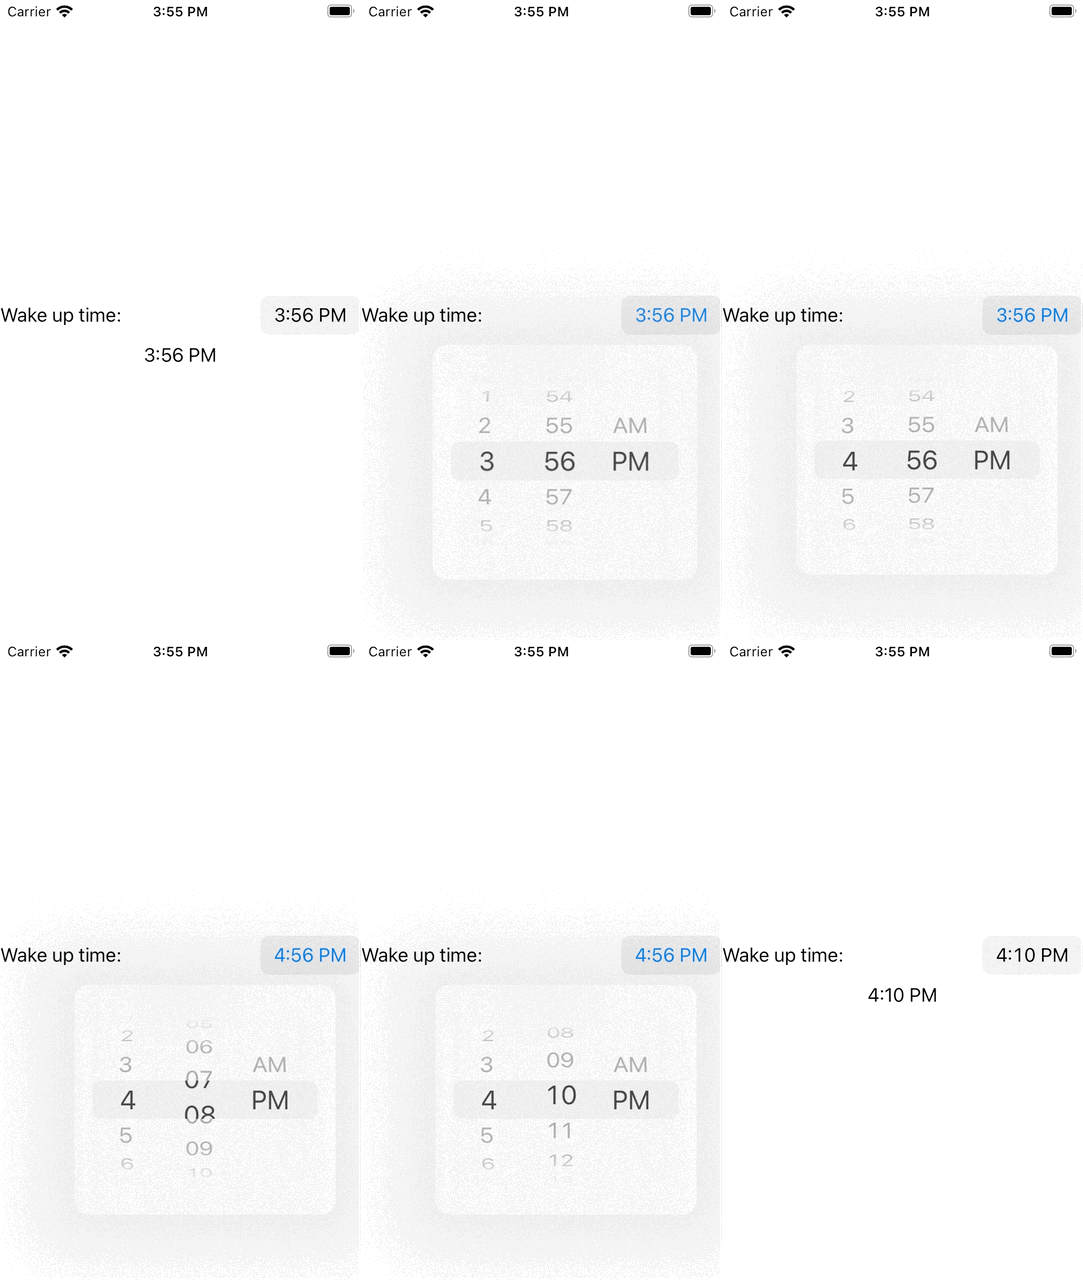
2. 也可以限定只選擇時間,實作如下:
import SwiftUI

struct DatePickerExample: View {
    @State private var wakeUpTime = Date.now

    var body: some View {
        VStack {
            DatePicker("Wake up time:",
                       selection: $wakeUpTime,
                       displayedComponents: .hourAndMinute)
            Text(wakeUpTime.formatted(date: .omitted, time: .shortened))

        }
    }
}


