SwiftUI 發送Local Notification
xcode 13.4.1, swift 5.5, iOS 15.4
2022-09-03
App的Notification通知是一種很常用的方法來通知使用者的手段,這次我們來學習從App自身發出的Local Notification。
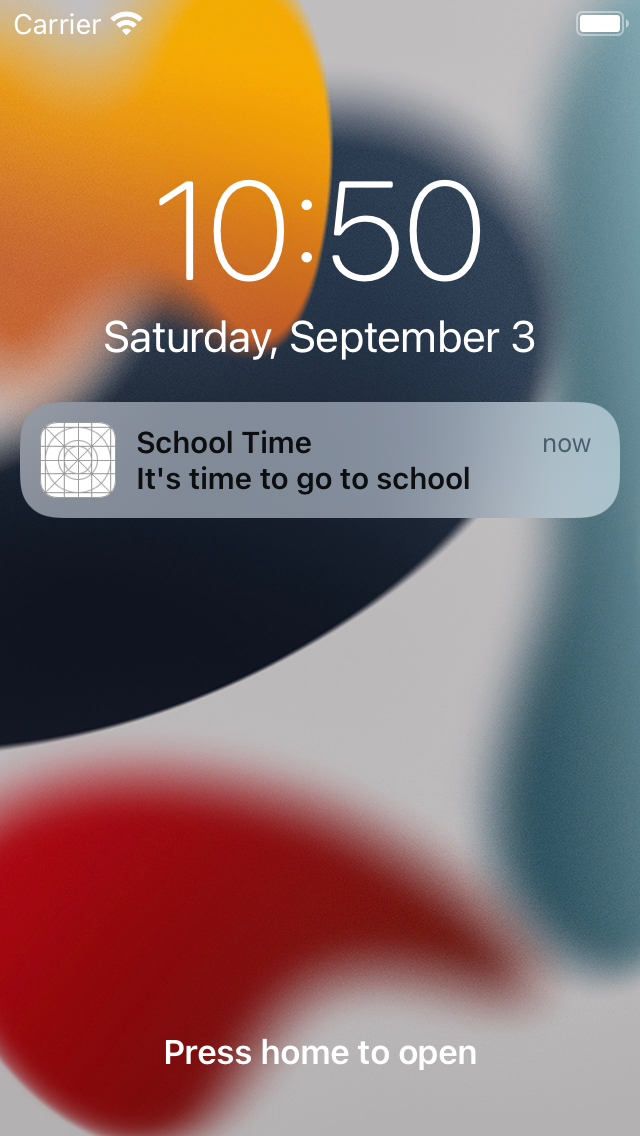
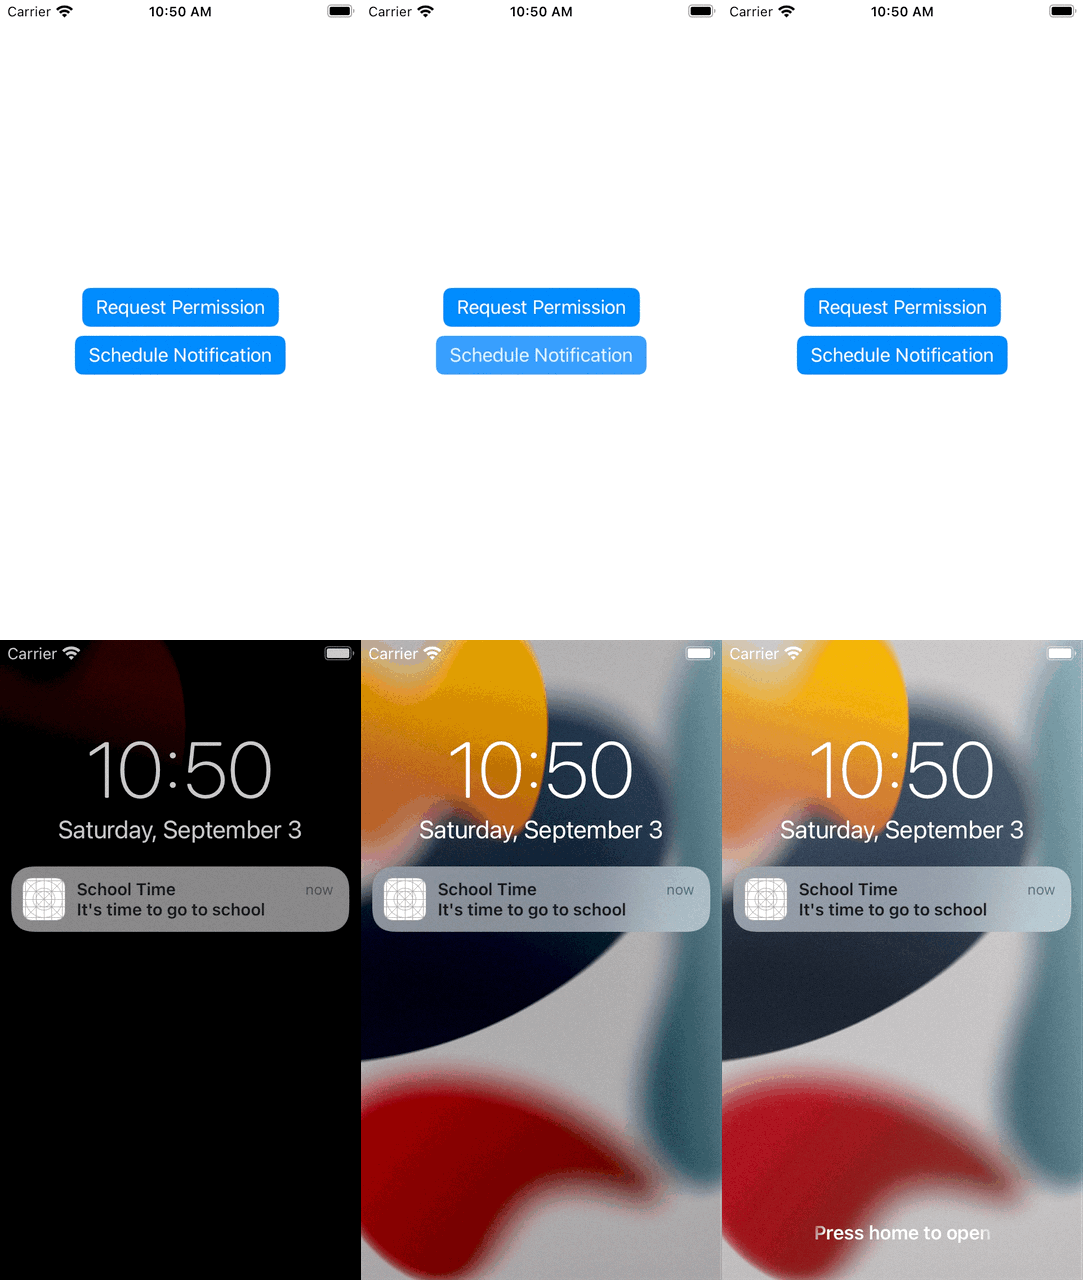
鎖住屏幕時收到的通知
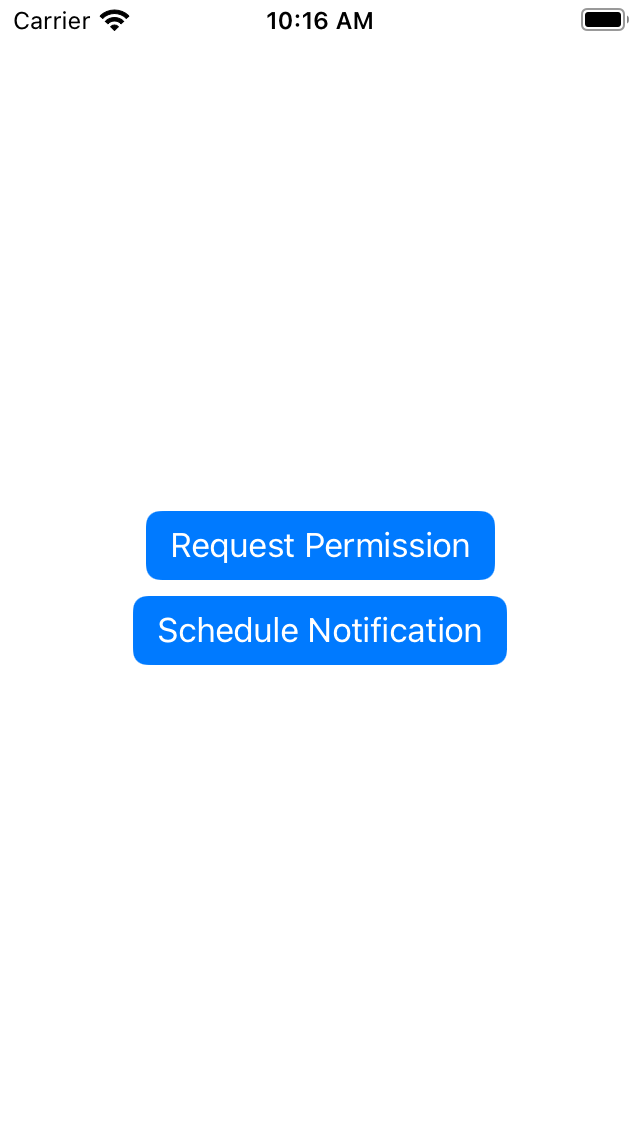
1. 我們使用兩個按鈕來做兩件事件,第一個按鈕是向使用者要求使用Notification,第二個按鈕是發送一個延時的Local Notification。
import SwiftUI

struct UserNotificationsExample: View {
    var body: some View {
        VStack {
            Button("Request Permission") {
            }
            .buttonStyle(.borderedProminent)

            Button("Schedule Notification") {
            }
            .buttonStyle(.borderedProminent)
        }
    }
}
2. 第一個按鈕是向使用者要求使用Notification,所以要引入UserNotifications的library,然後使用UNUserNotificationCenter的requestAuthorization來向使用者要求需要發通知的權限,當使用者回答人後,會用一個closure來告訴App使用者的回應,如果使用者按了allow,success是true代表使用者允許可以發送權知的權限,如果使用者按了Don't Allow,success是返回false:
import SwiftUI
import UserNotifications

struct UserNotificationsExample: View {
    var body: some View {
        VStack {
            Button("Request Permission") {
                UNUserNotificationCenter.current().requestAuthorization(options: [.alert, .badge, .sound]) { success, error in
                    if success {
                        print("Notification Permission Set!")
                    } else if let error = error {
                        print(error.localizedDescription)
                    }
                }
            }
            .buttonStyle(.borderedProminent)

            Button("Schedule Notification") {
            }
            .buttonStyle(.borderedProminent)
        }
    }
}
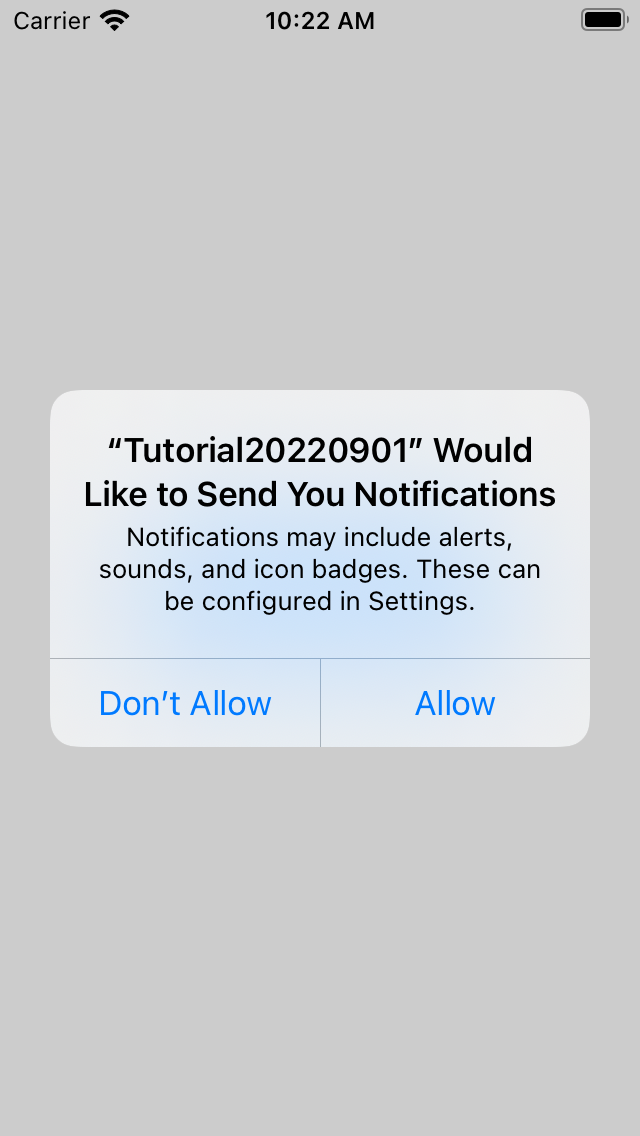
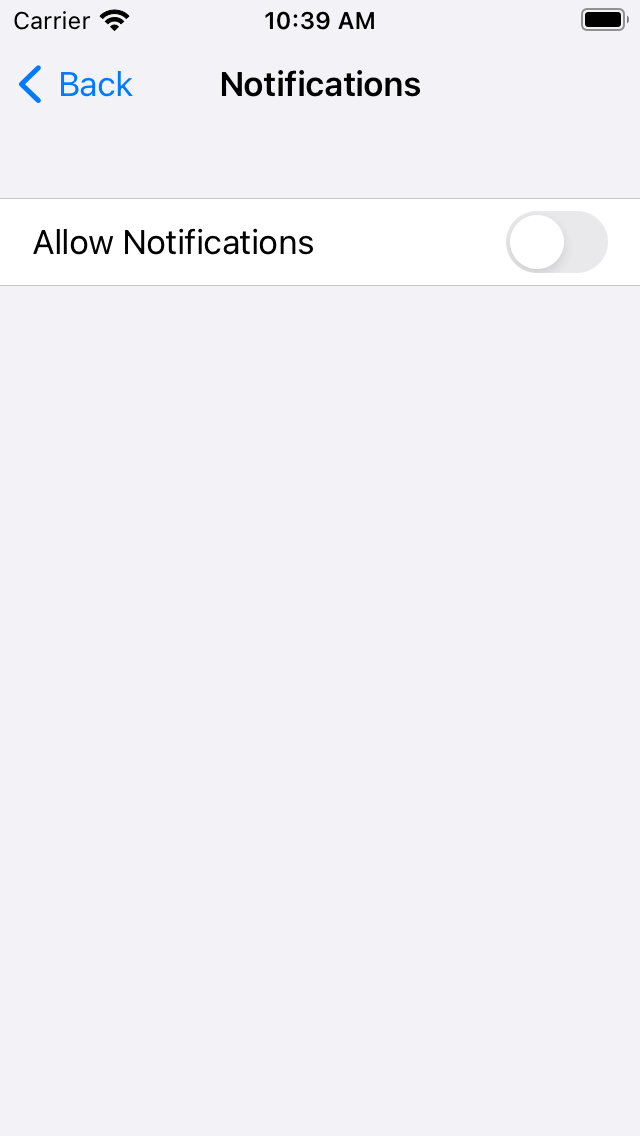
若不小心按了Don't Allow,可以到iPhone的Settings把該App的Notifications改為Allow Notifications。
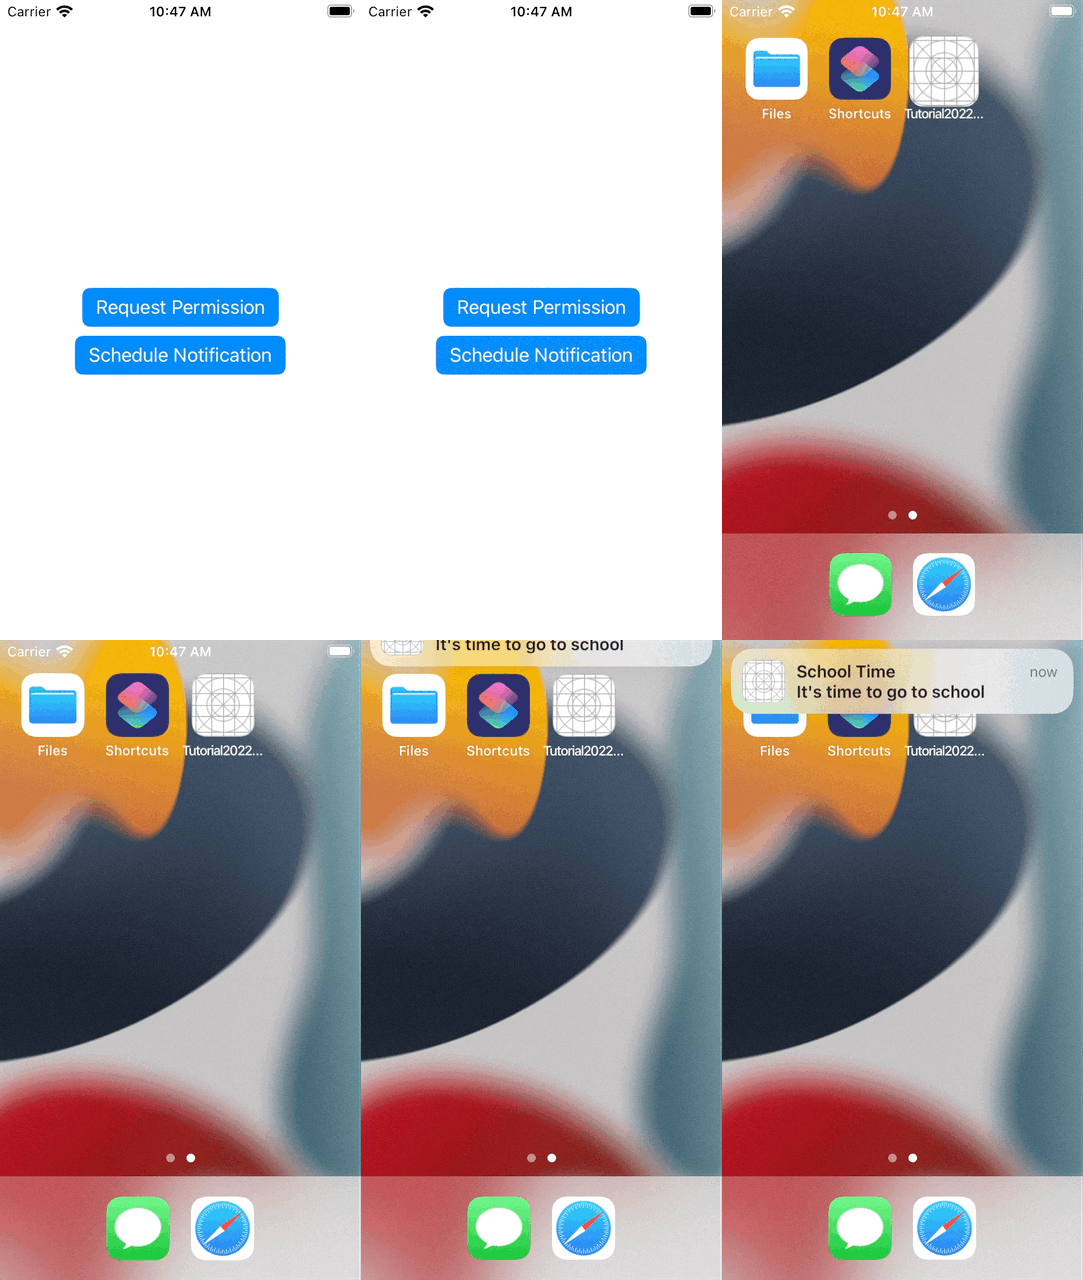
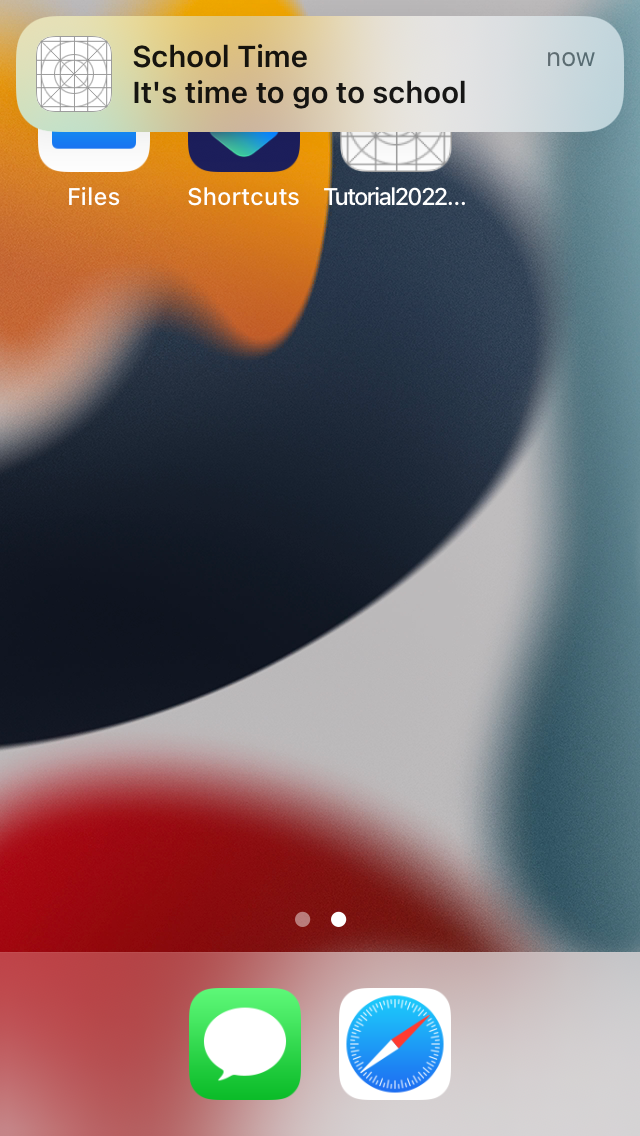
4. 再來做定時發送Notification,以下是做一個延時5秒的Local Notification,再按完第二個按鈕後立即,5秒後就會在頂部看到該Notification。或再第完第二個按鈕後,立即按Command+L把鎖住屏幕,5秒後就會看到中間的Notification。
import SwiftUI
import UserNotifications

struct UserNotificationsExample: View {
    var body: some View {
        VStack {
            Button("Request Permission") {
                UNUserNotificationCenter.current().requestAuthorization(options: [.alert, .badge, .sound]) { success, error in
                    if success {
                        print("Notification Permission Set!")
                    } else if let error = error {
                        print(error.localizedDescription)
                    }
                }
            }
            .buttonStyle(.borderedProminent)

            Button("Schedule Notification") {
                let content = UNMutableNotificationContent()
                content.title = "School Time"
                content.subtitle = "It's time to go to school"
                content.sound = UNNotificationSound.default

                // show this notification five seconds from now
                let trigger = UNTimeIntervalNotificationTrigger(timeInterval: 5, repeats: false)

                // choose a random identifier
                let request = UNNotificationRequest(identifier: UUID().uuidString, content: content, trigger: trigger)

                // add our notification request
                UNUserNotificationCenter.current().add(request)
            }
            .buttonStyle(.borderedProminent)
        }
    }
}
退出App的頂部通知

鎖住屏幕時收到的通知
